 How-to
Are Enclosed Trailer Customization Tips Worth It in 2026?
Last Updated: November 1, 2026
Quick Summary
Enclosed trailer customization pays off when you start with payload, tongue weight, and trailer size math before buying any upgrade. Spend first on daily-use items like flooring, lighting, and secure storage, then phase cabinets, electrical, and climate control as cash flow allows.
- Load 60% of cargo weight forward of the axles to fix most sway complaints.
- Keep tongue weight between 10% and 15% of total loaded weight.
- A 16-foot enclosed cargo trailer fits most two-person contractor setups.
- Install cabinets after living with the empty trailer for a week.
- Plan vapor barrier and ventilation at the same time if you add air conditioning.
Table of Contents
- Start With Payload, Tongue Weight, and Trailer Size Before You Customize
- Enclosed Trailer Layout Ideas That Fit Real Job Sites
- Enclosed Trailer Upgrades Worth the Money in 2026
- Enclosed Trailer Lighting and Electrical: Plan the Load First
- Enclosed Trailer Customization Checklist: Budget, Phasing, and Moisture Control
- Common Customization Mistakes and How to Avoid Them
- Build Your Enclosed Trailer Customization Plan With DoubleTake
- Frequently Asked Questions
Start With Payload, Tongue Weight, and Trailer Size Before You Customize
Enclosed trailer customization starts with math, not Pinterest. Before you pick a cabinet or light strip, know what your tow vehicle can pull and what your cargo weighs.
Payload is the total weight of cargo, tools, and gear your trailer can legally carry. Tongue weight is how much of that load pushes down on your hitch. Gross vehicle weight rating (GVWR) is the maximum your trailer is built to handle, loaded.
Skip this step and you'll fight sway on the highway. Get it right and every later upgrade fits.
How to Match Trailer Size to Your Work
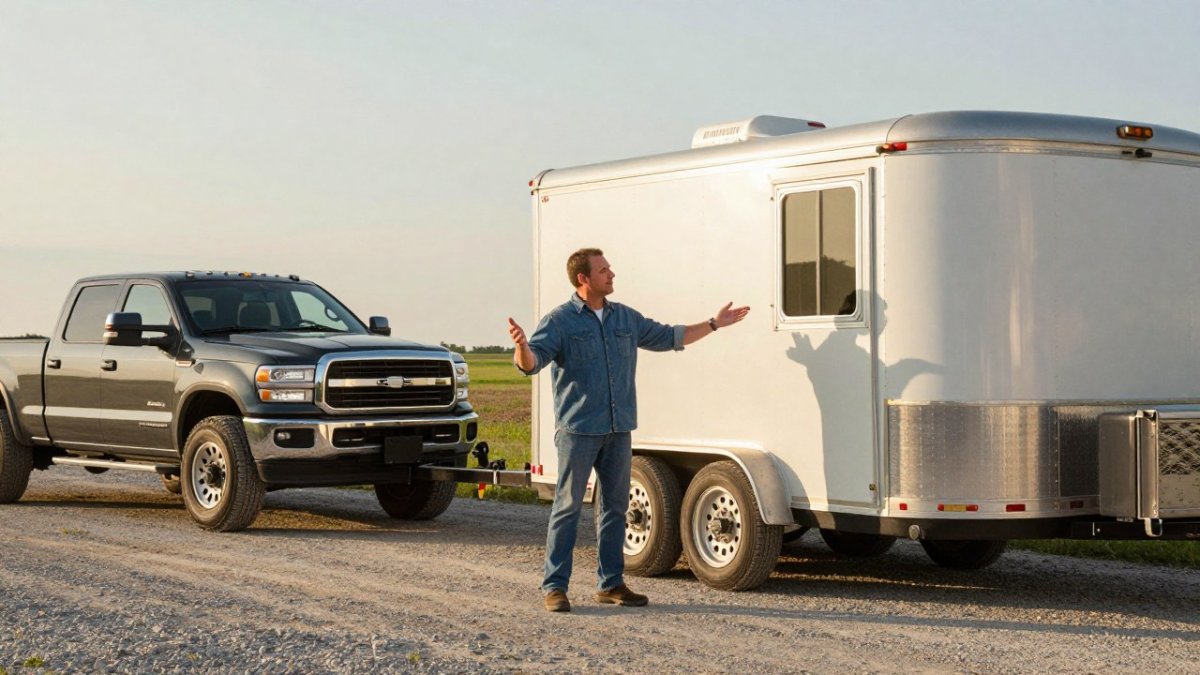
Trailer size should follow your largest daily load, not your biggest once-a-year haul. A 16-foot enclosed cargo trailer fits most two-person contractor setups. For a closer look at which utility trailer options suit small-contractor jobs, see Best Utility Trailers for Small Contractors. Landscapers and mobile detailers often do better with 12 to 14 feet.
Measure your longest tool first, then add two feet of walk-around space.
Weight Distribution and Cargo Capacity Rules
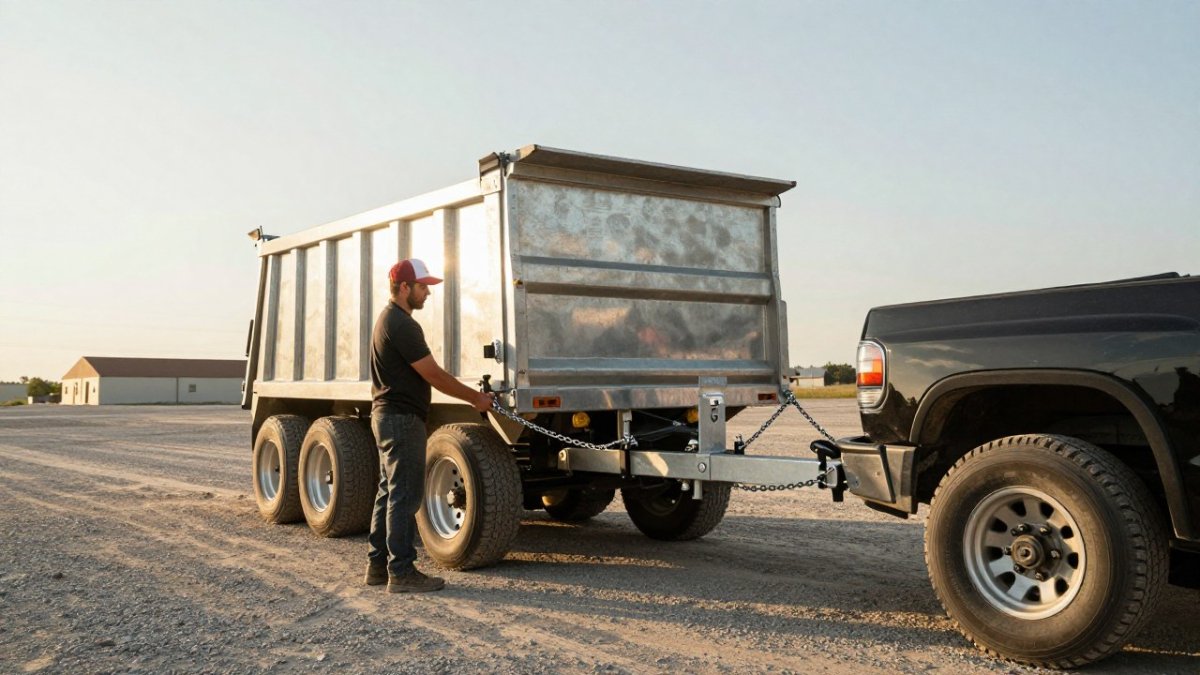
Load 60% of your cargo weight forward of the axles. That single habit fixes most sway complaints.
- Keep tongue weight between 10% and 15% of total loaded weight
- Weigh your loaded trailer at a public scale before your first long trip
- Put heavy tool boxes over or slightly ahead of the axles
The NHTSA guidance on trailer safety and towing is worth a read before you load up.
Enclosed Trailer Layout Ideas That Fit Real Job Sites
The best enclosed trailer layout ideas match how you actually work, not how a showroom looks. Contractors need fast access to tools. Detailers need water and power. Event vendors need open floor space.
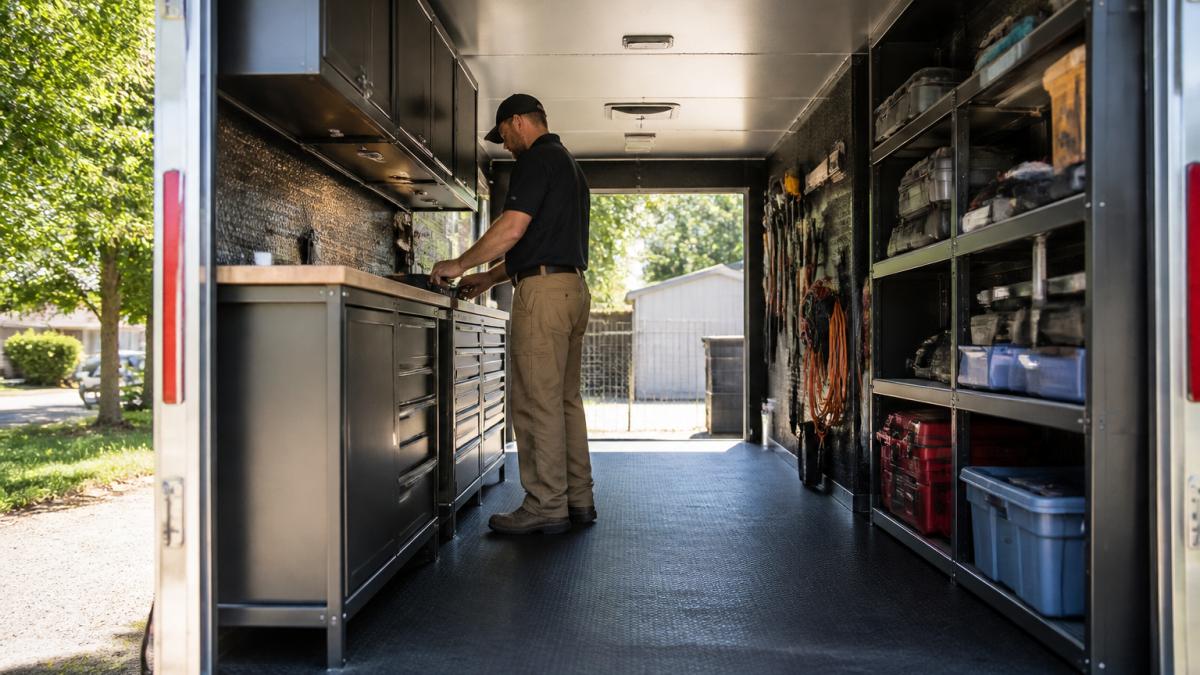
Start with a walking path down the center. Then build outward. Three layouts cover most trades:
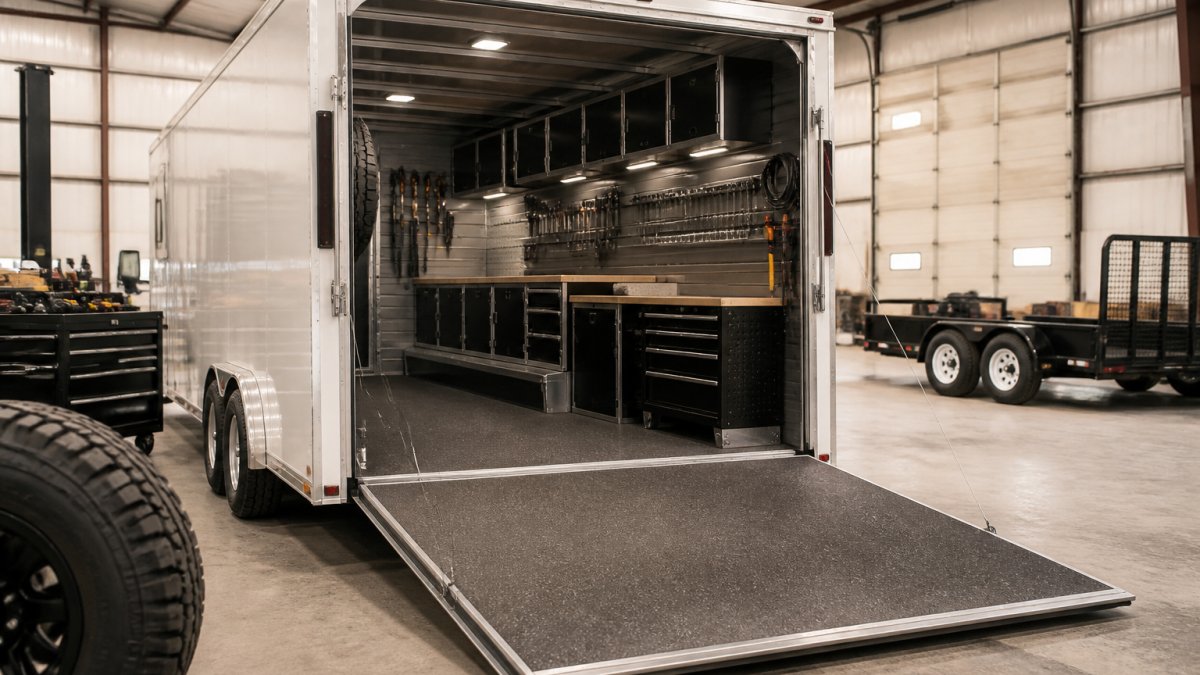
- Contractor setup: cabinets on the front wall, shelving down one side, open floor for equipment
- Detailing business: water tank and pump at the front, locked chemical cabinets, open bay behind
- Mobile business: counter or service window, storage below, clear aisle for customers
Sketch your layout on paper at scale. You'll catch problems before you drill a single hole.
Enclosed Trailer Upgrades Worth the Money in 2026
Not every upgrade earns its keep. The ones that pay you back are the ones you use daily: better flooring, real lighting, and secure storage.
Interior Finishing: Walls, Ceiling, and Flooring
Wall paneling protects your trailer and makes it feel like a workspace. Plywood is the workhorse choice; aluminum costs more but cleans up fast and resists moisture.
For flooring, coin-grip rubber and marine-grade plywood are the two standards. Both handle dropped tools and spilled oil. For durable paint and coating options on heavy-duty trailer surfaces, see Durable Paint Finishes for Heavy Duty Trailers.
Cabinets, Storage, and Securement
Install cabinets after you've lived with the empty trailer for a week, so you learn where you reach most often.
Mount cabinets to wall studs, never just the paneling. Use E-track or recessed D-rings for securing equipment. A common mistake is skipping securement because "it's enclosed." Cargo still shifts. Lock it down.
Enclosed Trailer Lighting and Electrical: Plan the Load First
Enclosed trailer lighting and electrical work starts with a load calculation, not a shopping trip. Add up every light, fan, pump, and outlet you plan to run, then size the battery bank, inverter, and wiring to that total with headroom.
Step 1: Build a Real Load List
Write down each device, its rated draw in amps or watts, and daily run hours. Convert watts to amps at 12 volts by dividing by 12 (a 60-watt fan pulls about 5 amps), then multiply amps by hours to get amp-hours per day. That number, not the device count, tells you how big the battery needs to be.
| Load | Typical Draw | Planning Notes |
|---|---|---|
| Interior LED work lights | Low (often under 2 amps per fixture) | Run freely; use a switched circuit per zone |
| LED accent or strip lighting | Low | Cosmetic; keep on its own dimmer circuit |
| Roof vent or exhaust fan | Medium (often 3-7 amps) | Size wire to startup draw, not running draw |
| Water pump (detailers) | Medium | Add a pressure switch and fuse at the pump |
| 12-volt refrigerator | Medium, continuous | Counts against amp-hours 24 hours a day |
| Air conditioning | High | Needs its own circuit, soft-start, and often a generator or large inverter |
| Exterior work or scene lighting | Medium | Check state road-lighting rules before wiring |
| 120-volt outlets (tools, chargers) | Varies | Requires an inverter or shore power, GFCI protection, and a transfer method |
Step 2: Choose Your Power Source
Three power paths cover most builds, and many trailers combine them:
- Shore power only. A 30-amp RV-style inlet, breaker panel, and GFCI outlets. Cheapest and simplest, but only powered when plugged in.
- Battery and inverter. Deep-cycle AGM or lithium batteries feed a pure sine wave inverter for 120-volt loads. Lithium tolerates deeper discharge and weighs less; AGM costs less up front. Match inverter size to the largest single load plus a margin, a 2,000-watt inverter can pull close to 170 amps from a 12-volt bank at full output.
- Generator or tow-vehicle charging. A generator covers high-draw tools and air conditioning; a DC-to-DC charger tops the battery bank while you drive.
Whichever path you pick, decide how the trailer disconnects from shore power before you add an inverter. Back-feeding a shore inlet is a shock and fire hazard; use a proper transfer switch.
Step 3: Protect Every Circuit
- Fuse or break the positive conductor as close to the battery as practical, and fuse each branch circuit at its source.
- Size wire to the round-trip length and current; undersized wire overheats before the fuse blows.
- Bond and ground the 120-volt system to the trailer frame per the manufacturer's instructions, and use GFCI protection on outlets.
The NFPA 70 National Electrical Code is the reference standard for 120-volt work in vehicles, and the NHTSA guidance on trailer safety and towing covers lighting and towing-equipment requirements. Local electrical and vehicle codes can be stricter, so confirm with your authority having jurisdiction before you energize a new system.
If you are not comfortable calculating wire gauge, sizing an inverter, or bonding a 120-volt system, hire a licensed electrician or a shop that upfits work trailers. A trailer fire ends the business, and insurance carriers increasingly ask who did the electrical work.
Step 4: Plan the Physical Install
Route conduit and loom before you close up walls. Leave a pull string in every chase. Mount the battery in a vented, secured box over or ahead of the axles, and keep the inverter within a short, heavy-gauge run of the bank. Put the panel where you can reach it with the trailer loaded, and leave room for a future circuit or two, the upgrade you skip today is the one you add next season.
Enclosed Trailer Customization Checklist: Budget, Phasing, and Moisture Control
A phased plan beats a maxed-out credit card. Build in three stages so your trailer starts earning before it is finished, and treat moisture control as a line item rather than an afterthought.
Phase Your Build Around Cash Flow
- Stage 1, Safe and legal: confirm payload, tongue weight, and GVWR against your tow vehicle; add spare tire, jack, lock set, and a weight-distribution hitch if the math calls for one.
- Stage 2, Earn-ready: flooring, basic lighting, securement (E-track or D-rings), and a first aid and fire extinguisher kit.
- Stage 3, Fit-out: cabinets, wall paneling, full electrical, ventilation, and climate control.
What Drives the Cost
Costs swing widely by region, trailer size, and whether you DIY or pay a shop, so treat any single number as a range rather than a quote. The biggest drivers are:
- Electrical scope. A few LED fixtures and a fused 12-volt circuit is a modest add; shore power, an inverter, a battery bank, and 120-volt outlets push the build into a different budget tier.
- Climate control. Air conditioning, and the power to run it, is usually the single largest line item after the trailer itself.
- Cabinetry and paneling. Custom cabinets cost more than off-the-shelf units, and aluminum paneling costs more than plywood.
Get written quotes, and ask whether the shop will warranty its electrical and structural work separately from the trailer manufacturer's warranty.
Moisture Control: The Upgrade Nobody Budgets For
Condensation forms when warm, moist air meets cold metal, and an enclosed trailer is a metal box that swings between sun-baked and freezing. The result is rusted tools, warped plywood, mold in cabinets, and corrosion on wiring terminals. Insulation alone does not fix it; insulation, ventilation, and a vapor strategy have to work together.
- Ventilate both ends. A roof vent plus a low intake vent lets moist air escape instead of pooling at the ceiling.
- Control the vapor path. In a conditioned trailer, the vapor barrier goes on the warm side of the insulation so moisture does not condense inside the wall cavity. Seal penetrations and seams.
- Manage the floor. A raised coin-grip or rubber floor with a slight drain path keeps stored gear off standing water.
If you plan to run air conditioning or heat, plan the vapor barrier and ventilation at the same time. Retrofitting a vapor barrier after the walls are paneled means tearing the interior apart.
Maintenance and Warranty Habits
- Re-check fasteners, cabinet mounts, and E-track bolts after the first few loaded trips.
- Inspect wiring and penetrations for chafe and water intrusion at every oil change interval.
- Keep a written record of modifications; some manufacturers require approved installers to preserve structural warranty coverage.
Common Customization Mistakes and How to Avoid Them
The costliest mistakes happen before the first screw goes in. Here are the ones we see most:
- Overbuilding past your tow rating. A loaded custom trailer that sways is dangerous, not impressive.
- Skipping the load calculation. Electrical systems sized by guesswork fail.
- Mounting cabinets to paneling only. They will pull out under load.
Watch out: drilling into a wall without checking for wiring or a frame member. You can short a circuit or weaken the structure in one pass.
Build Your Enclosed Trailer Customization Plan With DoubleTake
Enclosed trailer customization rewards planning. Get the weight math right, sketch the layout, phase your budget, and plan for moisture and power before you buy a single part.
That's where we come in. DoubleTake Trailer Sales is a locally-owned Iowa dealership established in 2010, and we build custom trailers to your specifications.
Before you commit, review the financing options available from DoubleTake Trailer Sales.
Frequently Asked Questions
What should I consider before customizing an enclosed trailer?
Start with payload capacity, tongue weight, and trailer dimensions, because your layout and upgrades have to fit inside those limits. Decide the trailer's main use (contracting, detailing, concession, or storage), then plan storage, electrical, and ventilation around that use. A written enclosed trailer customization checklist keeps the build in order: size, weight, layout, materials, power, moisture control, and securement. Confirm the axle rating and hitch setup before adding cabinets, water tanks, or heavy equipment.
What enclosed trailer upgrades are worth the money?
Prioritize upgrades that protect your cargo and your time: plywood or aluminum wall paneling, a sealed floor, LED interior work lighting, and locking cabinets. Ventilation fans and insulation pay off if you work inside the trailer or haul temperature-sensitive goods. Electrical upgrades are worth it when planned around a real load calculation rather than added piecemeal. Cosmetic extras can wait for a later phase.
How do I add power and lighting to an enclosed trailer?
Plan the electrical load first: list every light, fan, outlet, and tool you will run, then size the battery bank, converter, or generator to match. Use a fused distribution panel, run wires in conduit or protected channels, and keep connections away from moisture. LED interior work lighting draws little power and gives bright, even light. For enclosed trailer lighting and electrical work, have a qualified installer handle 120V circuits, and keep 12V runs clearly labeled so future upgrades are simple.
How do I keep an enclosed trailer organized and dry?
Organization starts with the layout: dedicated zones for tools, materials, and equipment, with cabinets and tie-down points placed where you actually reach for things. Use E-track or D-rings to secure loads so they do not shift in transit. For moisture, seal the floor and walls, add vents or a powered fan, and avoid trapping wet gear inside. Check seals around doors and the roof annually. A dry, organized trailer holds its value and keeps tools ready for the next job.
Your trailer should work as hard as you do. Let's spec it right the first time.