 ultimate-guide
Durable Paint Finishes for Heavy Duty Trailers
Table of Contents
- Why Heavy Duty Trailers Need More Than Standard Paint
- How to Prep a Trailer for Painting
- Epoxy Primer for Trailers: The Foundation of Corrosion Resistance
- Powder Coating vs Liquid Paint for Trailers
- Topcoat Options: Urethane, Enamel, and Single-Stage Systems
- Application Methods and Curing Time
- Climate, Compliance, and Cost: What Most Guides Miss
- Conclusion
- Frequently Asked Questions
Last Updated: September 25, 2026
Why Heavy Duty Trailers Need More Than Standard Paint
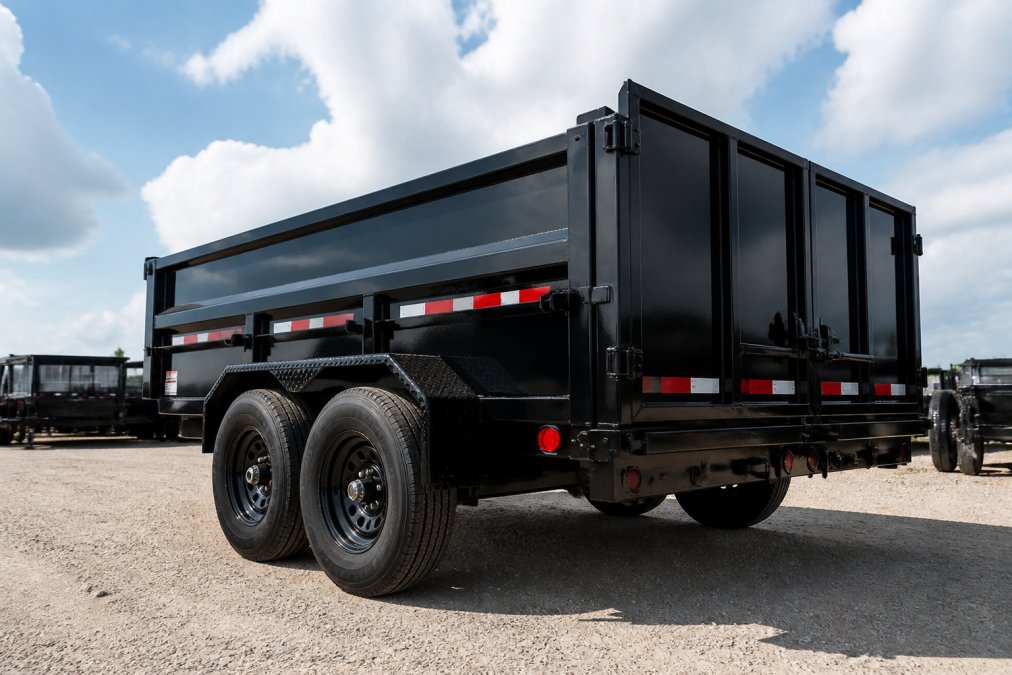
Standard paint fails on heavy duty trailers because the steel underneath never stops moving. It flexes under load, expands in summer heat, and contracts in winter cold, so a finish that cannot move with it cracks within a season or two. This guide from DoubleTake Trailer Sales covers what holds up: surface prep, primer system, and a topcoat matched to how you use the trailer.
How to Prep a Trailer for Painting
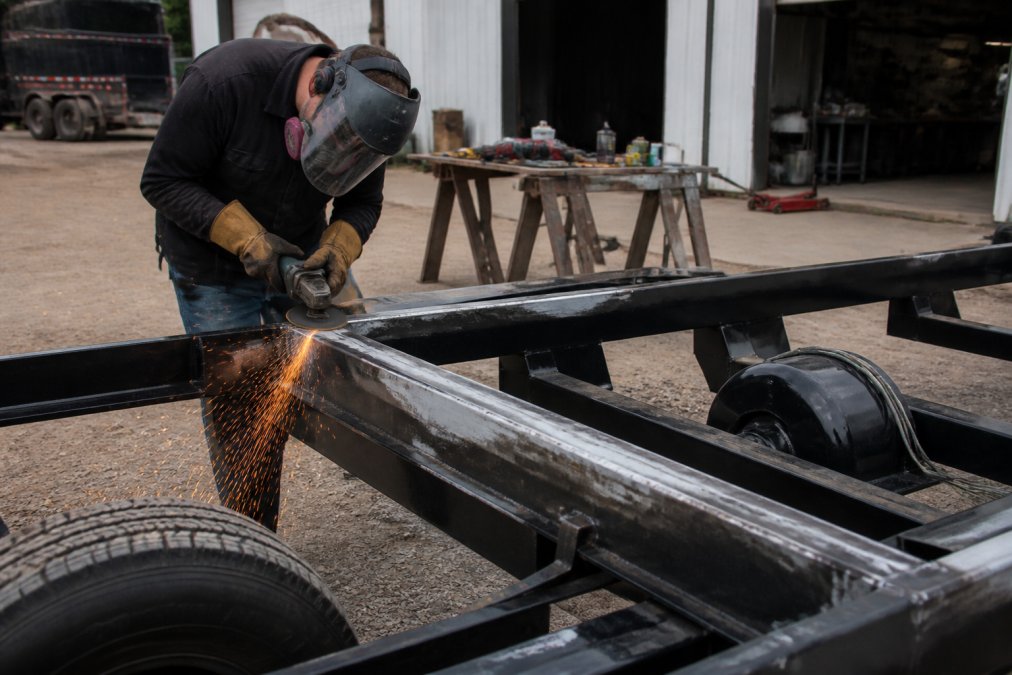
Preparation determines roughly 80% of how long a finish lasts. Skipping steps guarantees premature failure no matter how good the topcoat is.
Degreasing and Cleaning the Substrate
Degreasing removes oils, road film, and manufacturing residue that prevent paint from bonding. Wiping a dirty surface just spreads contaminants.
- Remove lights, wiring, fenders, and any bolted hardware before starting
- Scrape off heavy grease, tar, and mud with a putty knife
- Apply a solvent-based degreaser and let it dwell per the label
- Rinse thoroughly and let the substrate dry completely
- Wipe with a wax-and-grease remover immediately before blasting
Shot Blasting and Surface Profile
Shot blasting creates the anchor profile that gives epoxy primer something to grip. Paint does not bond to smooth steel; it bonds to a roughened surface with peaks and valleys measured in thousandths of an inch.
Epoxy Primer for Trailers: The Foundation of Corrosion Resistance
Epoxy primer is a two-part coating that chemically cures into a hard, non-porous barrier between steel and the elements. It is the most important layer in any durable paint system for heavy duty trailers.
Application notes that matter:
- Mix only what you can spray within the pot life, often 4 to 8 hours
- Apply at the manufacturer's specified film thickness, typically 3 to 6 mils dry
- Topcoat within the recoat window, or scuff the primer if you miss it
- Do not apply below the recommended substrate temperature
Powder Coating vs Liquid Paint for Trailers
Powder coating and liquid paint both protect heavy duty trailers, but they fail differently and suit different owners. Powder is applied dry, electrostatically charged, and baked into a hard film. Liquid systems cure chemically at ambient temperature and can be repaired in the field. The trade-off comes down to where the trailer lives, how it gets used, and whether you can afford shop downtime.
| Factor | Powder Coating | Liquid Paint |
|---|---|---|
| Application | Electrostatic spray, then oven bake | Spray, brush, or roller at ambient temperature |
| Cure mechanism | Thermal fusion, typically 350-400°F for 10-20 minutes | Chemical cross-linking over hours to days |
| Typical film build | 2-6 mils in one coat | 2-4 mils per coat, often two coats |
| Chip repair | Shop required; color match can be difficult | Field touch-up possible with aerosol or brush |
| Best for | High-volume factory finishes, enclosed trailers | Custom builds, repairs, and field-damaged units |
| Edge coverage | Can thin on sharp edges, leading to rust creep | Wets edges better, but runs if applied too heavy |
When Each Finish Makes Sense
Choose powder coating when the trailer is built in one location, the finish needs maximum scratch and chemical resistance, and future repairs are unlikely. It is the common choice for mass-produced utility and enclosed trailers because the bake oven is already in the factory line. The limitation is repairability: a chip exposes bare steel, and matching powder color in the field is impractical, so owners live with the damage or pay a shop to re-coat an entire panel.
Topcoat Options: Urethane, Enamel, and Single-Stage Systems
The topcoat is what you see and what takes the UV beating. Three families dominate trailer work: two-part urethane, industrial enamel, and single-stage systems.
Application Methods and Curing Time
Spray application gives the smoothest, most uniform finish and is the only practical method for epoxy primer and two-part urethane. Brush and roller work for touch-ups but leave a thicker, less even film that traps solvent.
- Spray in a controlled space or on a calm, dry day
- Maintain the manufacturer's recommended film thickness
- Allow full cure before loading the trailer or exposing it to rain
- Keep the first wash gentle and wait until cure is complete
Climate, Compliance, and Cost: What Most Guides Miss
Three factors separate a finish that lasts from one that fails early, and most guides skip all three: climate, compliance, and the real cost of doing it yourself.
Match the System to Your Climate
A finish that performs in one region can fail in another because the dominant stressor changes. Match the system to your weather, not a generic recommendation.
- Coastal and salt-belt regions. Salt spray and humid air drive corrosion from the inside out. Epoxy primer is non-negotiable, and a zinc-rich primer under the epoxy adds sacrificial protection at chips and scratches. Rinse the trailer after winter road exposure; salt left on the surface keeps working even after the weather clears.
- Arid and high-UV regions. Sun exposure, not moisture, is the killer. Chalking, gloss loss, and color fade happen fast on cheap enamels. A two-part urethane topcoat with a UV-stabilized package holds color far longer than industrial enamel. Light colors fade less noticeably than dark ones.
- Freeze-thaw and northern climates. Steel expands and contracts with temperature swings, and rigid films crack. Flexibility is the deciding factor. Urethane topcoats stay flexible at low temperatures; some enamels go brittle and crack at the seams and welds.
- Mixed climates. If the trailer sees both road salt and summer sun, you need corrosion protection and UV protection in the same system. That usually means epoxy primer plus a urethane topcoat, not a single product trying to do both.
Compliance: What the Rules Require
Solvent-based coatings carry real regulatory obligations, and ignoring them creates liability that outweighs any savings.
- VOC content. The EPA regulates volatile organic compound content in coatings under the Clean Air Act, and many states and local air districts set stricter limits than the federal floor. Before buying a solvent-based product in bulk, check the VOC limit for your area. Waterborne and high-solids products are formulated to meet lower limits.
- Worker safety. The Occupational Safety and Health Administration (OSHA) regulates silica dust exposure from abrasive blasting and respiratory hazards from solvent vapors. Blasting with silica sand is restricted in many jurisdictions; steel shot, garnet, and other less hazardous abrasives are common substitutes. A supplied-air respirator, not a dust mask, is the standard for blasting.
- Waste handling. Blasting media, paint filters, and leftover two-part coatings are regulated waste in many areas. Mix only what you can use within the pot life, and dispose of leftover chemicals according to local rules.
DIY vs. Professional: A Cost-Benefit Framework
Doing it yourself saves labor but requires blasting equipment, spray gear, and a dust-controlled space. Professional application costs more up front but typically includes proper surface prep, where DIY jobs most often cut corners. Use this framework:
- Do it yourself if you already own or can rent a blaster and spray equipment, you have a covered space with ventilation, you are comfortable mixing two-part products accurately, and the trailer is not your primary income source.
- Hire a professional if you cannot blast to a proper anchor profile, you lack a controlled spray environment, the trailer is a commercial asset that cannot sit idle for weeks, or you need a warranty on the finish.
- The hidden cost of DIY is not the paint, it is the prep. If you cannot blast to a proper profile, the money saved on labor disappears the first time the finish peels. A finish that fails at the primer layer costs more to fix than the original professional job would have cost.
Conclusion
Getting a finish that survives years of gravel, sun, and Midwest winters is a system problem, not a paint problem. The trailer you start with matters as much as what you spray on it, which is why DoubleTake Trailer Sales offers a wide range of high-quality trailers, backed by an in-house service and parts department for the touch-ups and repairs that come with real use.
Frequently Asked Questions
What is the best heavy-duty paint for trailers?
A two-part urethane topcoat over an epoxy primer delivers the best combination of corrosion resistance, UV stability, and scratch resistance for heavy duty trailers. Urethane holds color and gloss longer than enamel, especially under sun exposure. For extreme abrasion, a single-stage industrial enamel with added hardener works well on decking and high-contact areas. The key is matching the topcoat to your trailer's exposure and use.
Can I paint over rust on a trailer?
You can paint over light surface rust if you first treat it with a rust converter or remove it mechanically, but painting over heavy flaking rust leads to failure. The paint will bond to the rust, not the metal, and will peel within months. For heavy duty trailers, the correct approach is to remove rust by grinding or shot blasting, then apply an epoxy primer to seal the substrate before topcoating. Skipping this step wastes time and money.
How do I prepare a trailer frame for painting?
Start by degreasing the frame with a solvent-based cleaner to remove oil and road grime. Next, remove rust and old paint by grinding, wire brushing, or shot blasting to create a rough surface profile. Wipe down with a tack cloth, then apply an epoxy primer within the recommended window. Proper surface preparation is the single biggest factor in how long your finish lasts on heavy duty trailers.
Is powder coating better than liquid paint for trailers?
Powder coating offers superior chip and scratch resistance because it forms a thicker, chemically cured shell, but it requires baking at high temperatures and is harder to touch up. Liquid paint, especially two-part urethane, is easier to apply in a shop, dries faster, and allows field repairs. For heavy duty trailers that see gravel and debris, powder coating on the frame plus a urethane topcoat on panels is a common hybrid approach.