 ultimate-guide
Custom Concession Trailer Design Tips for 2026
Table of Contents
- Start With Your Menu, Not the Trailer
- Food Trailer Floor Plans That Match Your Workflow
- Concession Trailer Layout Ideas for Real Service
- Food Trailer Equipment List: What Goes Where
- Storage, Utilities, and Compliance Planning
- Food Trailer Design Mistakes That Cost You Money
- Budget, Throughput, and Working With a Builder
- Frequently Asked Questions
Last Updated: October 13, 2026
Start With Your Menu, Not the Trailer
The biggest mistake in custom concession trailer design is buying the shell before you know what you're cooking in it.
Before you sketch a single wall, write your full menu out, then work backward.
A custom concession trailer is a mobile commercial kitchen built to a specific menu and service model, not a generic box with a window cut into it.
Food Trailer Floor Plans That Match Your Workflow
Food trailer floor plans should follow the work triangle: prep, cook, serve.
The standard efficient layout runs in a straight line down one wall: prep at one end, cooking in the middle, assembly and service window at the other.
Three common configurations:
- Linear (single-wall): Best for trailers under 4.9 meters (16 feet). One cook, one server, tight but fast.
- L-shaped: Fits a corner prep area without blocking the cook line. Good for 4.9 to 6.1 meters (16 to 20 feet).
- Galley (two-wall): Two opposing counters with a center aisle. Handles two to three staff and higher volume, but needs at least 2.4 meters (8 feet) of width.
Draw your floor plan to scale on graph paper before you commit, marking every door swing, drawer pull, and appliance door.
Concession Trailer Layout Ideas for Real Service
Concession trailer layout ideas live or die on the service window, the handoff point that sets your maximum throughput.
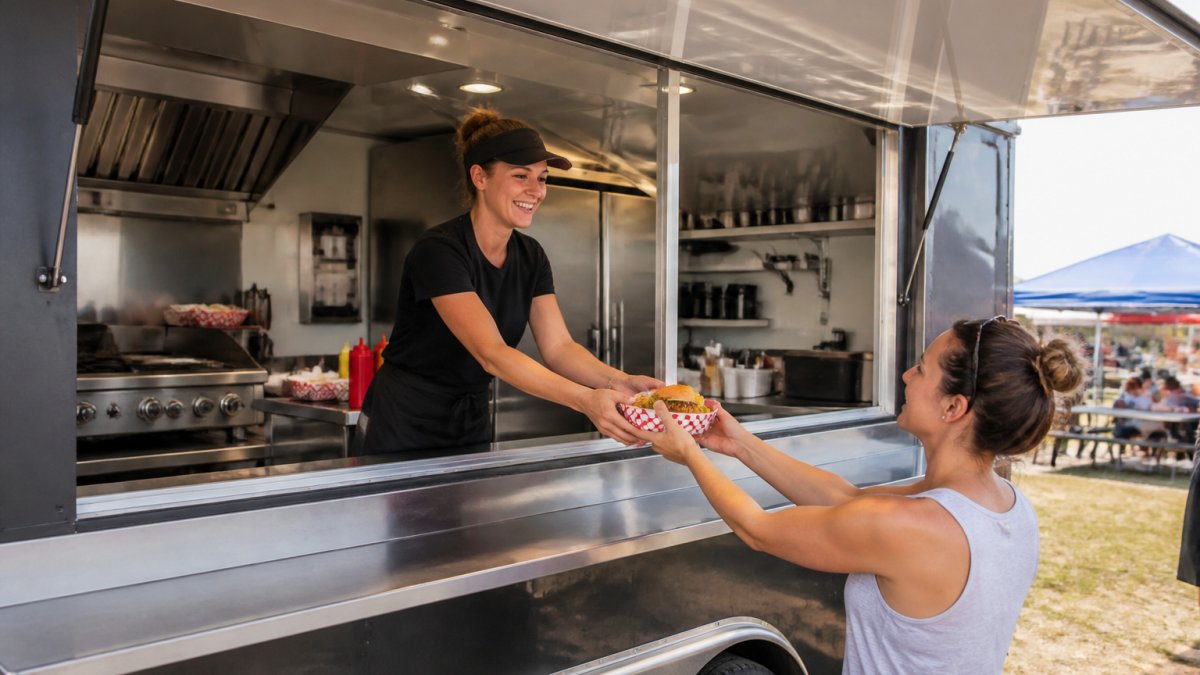
Place the service window so customers never see the messy side of the kitchen.
Window height matters more than most vendors realize: too low and staff bend all day, too high and customers can't reach comfortably.
Design the Queue, Not Just the Window
Most layout advice stops at the window, but the queue is where you actually lose money. A single-file line backing into a sidewalk or parking lane draws complaints and can run afoul of right-of-way rules. Plan the customer path before the counter:
- Order point vs. pickup point. Split them and customers order at one end, collect at the other, spreading the line. Combine them and keep the menu board and POS on the same side so customers don't cross the pickup lane.
- Menu board placement. Put it where customers read it while waiting, not where they read it after they've reached the window. That single move cuts decision time per order.
- Standing room. Allow roughly 3 feet of linear queue space per waiting customer, so a 10-person line needs about 30 feet of clear path that doesn't block neighbors or a fire lane.
Accessibility and Ergonomics
The Americans with Disabilities Act sets accessible design expectations for places of public accommodation, and while a mobile unit's obligations depend on how and where it operates, designing for access is cheaper than retrofitting. Practical moves:
- Keep the service counter reachable from a level surface, and provide a section of counter at a height a seated customer can use.
- Make the path to the window firm, stable, and free of cords, mats, and propane lines.
- If you offer a self-serve condiment or drink station, put it at a reachable height and out of the main traffic path.
For staff, ergonomics is throughput. Counter heights that force bending, a hand-wash sink more than a step from the window, and a cook line that turns your back to the customer all add seconds to every order.
Keep customer flow separate from staff movement. If your door and service window open onto the same side, customers crowd the entrance, so put the entry door opposite the window whenever the footprint allows.
Food Trailer Equipment List: What Goes Where
A food trailer equipment list starts with cooking equipment, then refrigeration, then support items.
Cooking equipment: flat-top griddle, deep fryer, range or hot plate, charbroiler, steamer, or combi oven depending on menu.
Support equipment: prep tables, hand-wash sink, three-compartment sink, shelving, exhaust hood, and fire suppression over any grease-producing appliance.
Placement rule: keep the cook line and the cold line on opposite sides of the trailer.
Storage, Utilities, and Compliance Planning
Storage, utilities, and compliance are where most custom concession trailer design tips stop and where real builds succeed or fail.
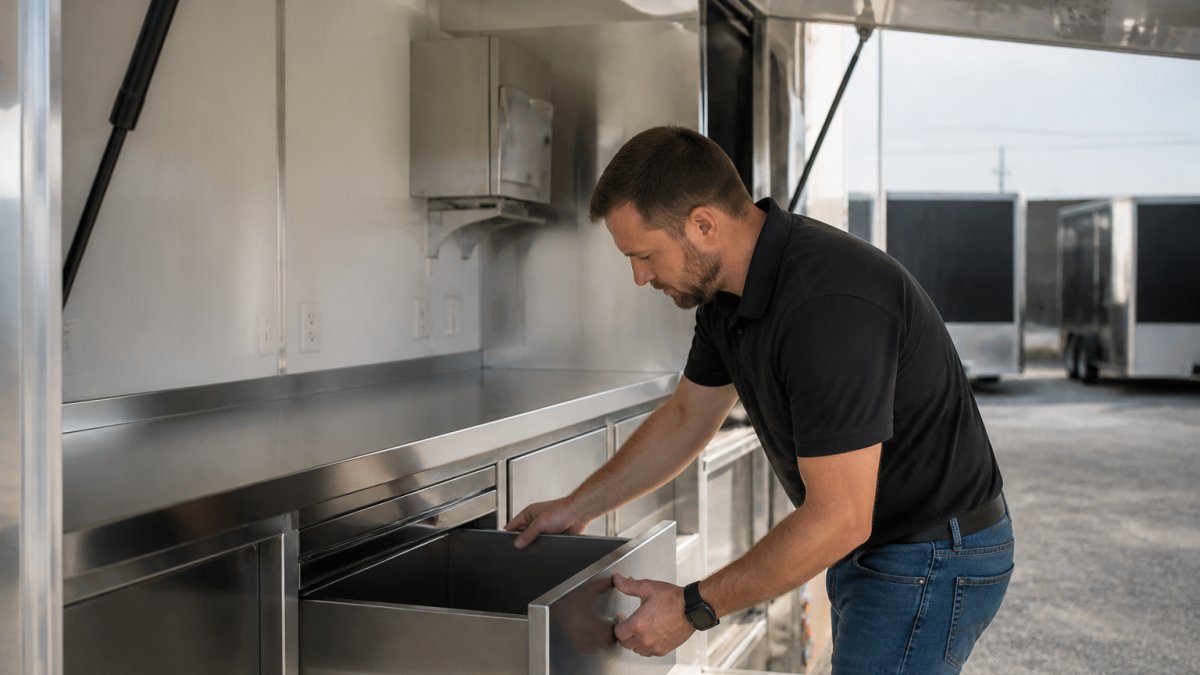
Storage: use vertical shelving to the ceiling, deep drawers under counters, and multipurpose storage that doubles as workspace.
Utilities: size your electrical panel to the total connected load of every appliance running at once, not the sum of every appliance on board.
Compliance: food safety rules, sanitation requirements, and ventilation standards vary by state and county. Confirm requirements with your local health department before finalizing the build, and check FDA Food Code guidance for the national reference standard your local code is usually based on.
| Planning Area | What to Decide | Why It Matters |
|---|---|---|
| Storage | Vertical shelving, deep drawers, multipurpose surfaces | Reclaims floor space for staff movement |
| Electrical | Panel sized to peak simultaneous load | Prevents breaker trips mid-rush |
| Plumbing | Fresh and gray water capacity for one service day | Keeps you legal and running |
| Ventilation | Hood and fire suppression over cook line | Required in most jurisdictions |
| Fire safety | Suppression system, extinguisher, exit path | Passes inspection, protects staff |
Food Trailer Design Mistakes That Cost You Money
Food trailer design mistakes almost always trace back to designing for looks instead of service. The ones we see most often:
- Skipping the work triangle. Equipment scattered across the trailer adds steps and slows every order.
- Undersizing the electrical panel. Adding one more appliance later means a full rewire.
- No ventilation plan. A hood system installed after the fact costs far more than planning it in.
- Forgetting the hand-wash sink placement. Inspectors flag it, and staff waste time walking to it.
- Ignoring weather protection. Exterior durability matters when your trailer sits outside year-round.
- No peak-period testing. A layout that works at 10 orders an hour collapses at 40.
Budget, Throughput, and Working With a Builder
Budget trade-offs and lifecycle costs decide whether a trailer pays for itself. A cheap build needing constant repairs costs more over five years than a well-built one. The trick is knowing which line items are worth the money and which are markup.
Where the Money Actually Goes
A custom build's cost is driven less by the shell than by what's inside and how it's wired and plumbed. The big levers:
- Equipment. Cooking and refrigeration typically dominate the budget. Buying one size larger than you need today often costs less than upgrading later, because a swap can force electrical, ventilation, and counter changes.
- Utilities. A bigger electrical panel, a larger water tank, and a properly sized hood and fire-suppression system are not glamorous, but they're the items that are expensive to add after the fact. Plan them at the design stage.
- Materials and finishes. Stainless where it touches food and where it takes abuse; painted or clad surfaces where it doesn't. Over-specifying finishes is one of the easiest places to waste money.
Lifecycle Costs, Not Just Sticker Price
Ask what a design costs to own, not just to buy:
- Energy. Refrigeration and exhaust run every service day. A layout that puts the cooler next to the cook line makes the compressor work harder for years.
- Maintenance and parts. Standard, widely available components are easier and cheaper to replace than proprietary ones. Ask your builder what happens when a part fails mid-season.
- Upgrade path. Leave room in the panel and the floor plan for one more appliance. Vendors who outgrow a trailer usually outgrow the electrical capacity first.
Test the Layout Against Real Volume
Throughput testing is the step most vendors skip. Before you open, run a timed test with your planned crew:
- Pick a realistic peak order mix, not just your easiest item.
- Time how many complete orders you can finish in 15 minutes with the staff you'll actually schedule.
- Compare that number to your target for your busiest hour.
- If you fall short, fix the layout, not the headcount. Adding a person to a bad layout usually just adds a person standing in the way.
A common pattern is that the bottleneck isn't the cooking equipment, it's the handoff: assembly, packaging, and payment. Watch where orders stack up and design that station first.
Working With a Builder
Working with a builder comes down to communication and timeline. Get the scope in writing: what's in the base price, what's an add-on, who pulls permits, who handles final inspection. Ask for the service and parts plan before you sign, and confirm the build schedule in writing so a missed season doesn't become a missed year.
Frequently Asked Questions
What is the 60/40 rule for concession trailers?
The 60/40 rule is a planning guideline for concession trailer design that splits your interior into roughly 60% workspace and 40% storage and utility. The workspace covers prep, cooking, and assembly zones. The remaining area holds refrigeration, water tanks, generators, and dry storage. This ratio keeps staff movement efficient without cramming equipment into corners. Adjust it based on your menu: a coffee trailer needs less cooking space, while a burger trailer needs more. Sketch your zones on graph paper before finalizing trailer dimensions.
How do you plan a concession trailer layout?
Start with your menu, then map the order-to-serve path. Identify your prep station, cooking station, and assembly line, and arrange them in a straight line or L-shape to prevent staff from crossing paths. Place your service window so customers can see the cooking area but not walk into it. Account for ventilation, electrical panels, and water capacity before locking the floor plan. Walk through the layout on paper with a tape measure to confirm you have at least 36 inches of aisle clearance.
What equipment should a concession trailer include?
A standard food trailer equipment list includes a commercial refrigerator, prep cooler, cooking surface (griddle, fryer, or range), exhaust hood with fire suppression, hand-wash sink, three-compartment sink, fresh and gray water tanks, and a POS system. Add a generator or shore power hookup, propane tanks, and adequate lighting. Your specific menu determines the cooking equipment. A hot dog cart needs a steamer and bun warmer, while a taco trailer needs a flat-top and multiple refrigerated prep stations.
What are the most common food trailer design mistakes?
The biggest food trailer design mistakes are skipping the health code review before building, undersizing electrical and water systems, and placing equipment without testing the workflow. Vendors also forget to plan for ventilation clearance, which leads to failed inspections. Another frequent error is choosing aesthetics over durability in flooring and wall materials. Finally, many builders ignore peak-period throughput, so the trailer works fine for slow days but bottlenecks when a line forms. Test your layout with a stopwatch before finalizing.
How can you make a concession trailer more efficient?
Efficiency starts with the work triangle: keep your prep station, cooking station, and service window within a few steps of each other. Use vertical shelving and deep drawers to store tools within arm's reach. Label every storage zone so staff can find items without searching. Add a dedicated assembly line for order fulfillment so one person handles plating while another cooks. Run a peak-period test with your actual staff and time each order. Small changes like repositioning a prep cooler can cut order times by 20 to 30 seconds.
Do you need permits to build a custom concession trailer?
Yes. Most states and counties require a mobile food unit permit, a health department inspection, and sometimes a fire safety certificate for your hood system. Electrical and plumbing work must meet local codes, and you may need a commissary agreement for waste disposal. Requirements vary by jurisdiction, so contact your local health department before you finalize the design. Building to code from the start is cheaper than retrofitting after a failed inspection.