 How-to
How to Inspect Trailer Welds for Quality
Table of Contents
- Why Trailer Weld Integrity Matters Before You Hit the Road
- Signs of Bad Trailer Welds You Can Spot in Minutes
- Welding Inspection Tools for Beginners: What You Actually Need
- Trailer Frame Inspection Checklist: A Step-by-Step Walkthrough
- How to Inspect Trailer Welds for Quality: Step-by-Step Visual Techniques
- DIY vs. Professional Weld Inspection: When to Call an Expert
- How Often to Inspect Trailer Welds and What to Do After
- Frequently Asked Questions
Last Updated: October 4, 2026
Why Trailer Weld Integrity Matters Before You Hit the Road
Trailer weld integrity is a welded joint's ability to carry its intended load without cracking, bending, or separating. A small weld flaw can quickly turn into a roadside breakdown, and a few minutes of inspection can prevent it.
A trailer frame is only as strong as its weakest weld. When one fails at highway speed, a loaded axle shifts, a tongue separates, or a deck drops.
How Weld Defects Lead to Structural Failure
Weld defects concentrate stress into a small area instead of spreading it across the joint. Cracks, porosity, and incomplete fusion create weak points that grow under repeated loading until the weld gives way.
Here is what happens in practice:
- A crack forms at the edge of a weld bead
- Vibration and road shock widen it with every trip
- The crack spreads into the base metal
The Federal Motor Carrier Safety Administration guidance on roadside inspections treats frame and weld condition as a safety item for good reason. A failed weld does not just damage your trailer.
Signs of Bad Trailer Welds You Can Spot in Minutes
The most common signs of bad trailer welds are visible cracks, rust streaks, uneven beads, and gaps where the weld should fuse two pieces of metal, most are spottable in minutes with good light.
Surface Clues vs. Structural Warning Signs
Surface clues suggest something might be wrong; structural warning signs mean it already is.
Surface clues include:
- Rust bleeding from a weld seam
- A bead that looks lumpy or uneven
- Spatter left around the joint
Structural warning signs are more serious:
- A visible crack in the weld or base metal
- A gap between the bead and the metal (undercut)
- A weld that looks thin compared to its neighbors
Welding Inspection Tools for Beginners: What You Actually Need
You don't need a lab to check a trailer weld, but you do need the right tools pointed at the right joints. A flashlight, wire brush, weld gauge, and magnifying glass cover most of what a trailer owner needs, the difference between a useful inspection and a wasted hour is knowing which tool answers which question.
The starter kit, and what each tool is actually for:
- Bright flashlight or headlamp (500+ lumens), light the joint from the side, not straight on. Angled light casts shadows into undercut and hairline cracks that flat light hides.
- Wire brush (stainless, hand-held), clear rust, dirt, and loose paint from the bead and base metal just past it. Do not use a grinder; you can grind away the evidence.
- Weld gauge (fillet and butt types), measure leg length, throat thickness, and crown height against the print or trailer manufacturer's spec. Most owners skip this tool, yet it turns a guess into a measurement.
A weld gauge separates a real inspection from a glance: most trailer frame welds are fillet welds, and the gauge tells you whether leg length meets the drawing.
Trailer-Specific Tools and Where to Point Them
Trailer inspection has its own short list of failure points, each rewarding a specific tool:
- Kingpin and upper coupler plate (semi-trailers), use the flashlight and magnifier on the weld tying the kingpin box to the upper coupler plate. This joint takes the fifth-wheel load directly; look for cracks radiating from the kingpin bore.
- Suspension hangers and axle seats, use the mirror and flashlight on the inboard side of the hanger, where cracks start and are hardest to see. Check the weld that ties the hanger to the frame rail.
- Tongue and coupler (utility, dump, enclosed), use the straightedge to check for bowing, then the magnifier on the coupler-to-tongue weld.
For deeper checks, a pro may use non-destructive testing like dye penetrant, magnetic particle, or ultrasonic testing, methods that find flaws you cannot see but belong in trained hands. A dye penetrant kit is the one NDT method a careful owner can learn, useful for telling whether a suspect crack at a suspension hanger is surface-only or through-wall.
Trailer Frame Inspection Checklist: A Step-by-Step Walkthrough
A trailer frame inspection checklist keeps you from missing the joints that matter most. Work front to back, then side to side, so you cover every load-bearing area the same way each time.
Use this checklist:
- Inspect the tongue and coupler welds first
- Check the axle-to-frame brackets and spring hangers
- Look at every crossmember where it meets the main frame
Checking High-Stress Joints and Load-Bearing Areas
High-stress joints take the most force: the tongue, axle mounts, and spring hangers carry the full load weight and absorb the most road shock.
Pay close attention to:
- The tongue-to-frame connection
- Axle and suspension mounting points
- The first crossmember behind the coupler
A common mistake is checking the frame rails and skipping the brackets, the brackets are where stress concentrates and cracks usually start.
How to Inspect Trailer Welds for Quality: Step-by-Step Visual Techniques
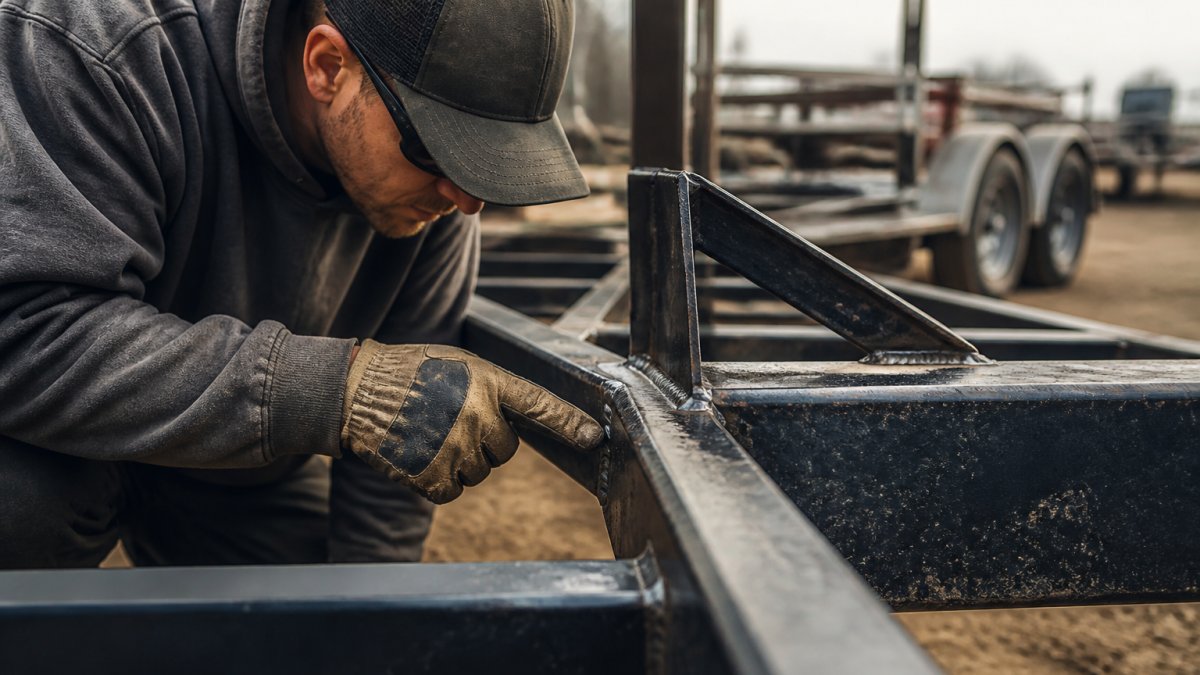
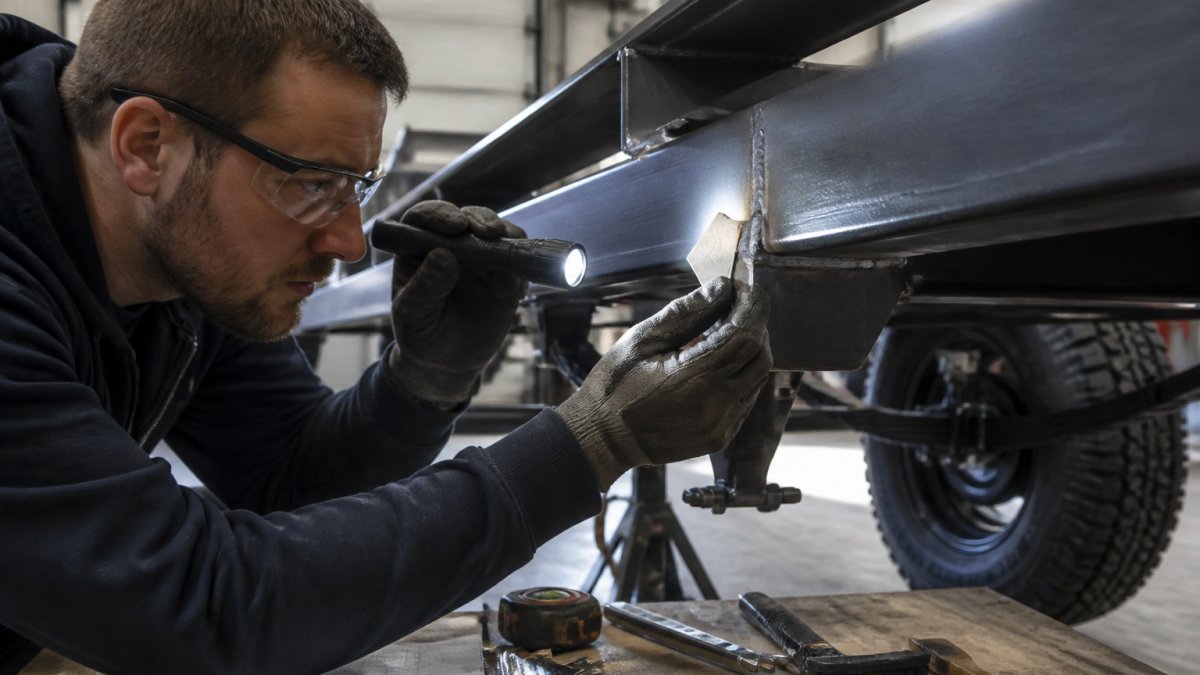
Visual inspection is the fastest way to judge weld quality and catches most problems before they become failures. Clean the joint, light it from the side, and check bead shape, size, edges, cracks, undercut, and gaps.
Follow these steps:
- Clean the area. Wire-brush away rust, dirt, and loose paint.
- Light it from the side. Angled light reveals cracks and undercut that flat light hides.
- Read the bead. A good bead is even, smooth, and slightly crowned.
- Check the edges. Look for undercut where the bead meets the base metal.
- Look for cracks. Check the weld and the metal just past it.
- Measure with a gauge. Compare bead size to the spec.
- Mark and document. Flag anything that needs a closer look.
Reading the Weld Bead, Profile, and Penetration
A good weld bead is even in width, smooth, and slightly raised, blending into the base metal without a sharp edge. Penetration, how deep the weld reaches into the joint, can only be judged fully with testing.
What to look for:
- Even bead: consistent width and height along the joint
- Smooth profile: no sharp edges or deep valleys
- Good fusion: the bead blends into the metal, no gaps
Weld porosity shows up as small holes or pits in the bead. Slag inclusion looks like trapped dark pockets. Both weaken the joint and are worth flagging.
DIY vs. Professional Weld Inspection: When to Call an Expert
DIY inspection works for spotting surface flaws and tracking changes over time. Call a professional when you find a crack, suspect poor penetration, or the joint carries a critical load.
Call an expert if you find:
- A crack in the weld or base metal
- Undercut deeper than the spec allows
- A joint that looks thin or poorly fused
For critical joints, methods like ultrasonic testing, dye penetrant, and magnetic particle testing give a clear picture. The American Welding Society resources on inspection are a good starting point for understanding weld standards and code compliance.
How Often to Inspect Trailer Welds and What to Do After
Inspect your trailer welds at least once a season, and always before a long haul or heavy load. But time alone is the wrong trigger: a trailer that sits in a yard and one that runs 2,000 miles a month on rough roads are not the same risk.
Use mileage and usage as the primary trigger, with time as a backstop:
| Trigger | What to Check | Time Needed |
|---|---|---|
| Before every trip | Tongue, coupler, safety chains, tie-downs, visible cracks | 2-3 minutes |
| Every 1,000 miles or monthly, whichever comes first | Axle mounts, spring hangers, crossmember ends, suspension mounts | 10-15 minutes |
| Every 5,000 miles or seasonally, whichever comes first | Full frame, kingpin and upper coupler (semi-trailers), all load-bearing joints, weld gauge on suspect beads | 30-45 minutes |
| After any impact, overload, or rough-road event | Full frame and suspension, with dye penetrant on any suspect crack | 30-45 minutes |
| Annually, or before any long haul over 500 miles | Full frame plus a professional NDT check on kingpin, suspension hangers, and tongue | 1-2 hours |
Escalate the schedule if any of these apply:
- Daily commercial use, cut the mileage intervals in half. A trailer that runs every day accumulates fatigue cycles far faster than a weekend toy.
- Heavy loads near the trailer's GVWR, inspect the tongue, axle mounts, and suspension hangers before every heavy haul, not just on the mileage interval.
- Rough roads, gravel, or construction sites, road shock widens cracks. Add a visual pass after every rough-road day.
What to Do After You Find Something
After you inspect, act on what you find:
- Surface rust only, wire-brush it, treat it, and re-check in 30 days. If rust returns in the same spot, treat it as a crack indicator and inspect with dye penetrant.
- A visible crack in the weld or base metal, stop towing until a professional inspects it. Do not grind it out and re-weld without a proper repair procedure; a bad repair at a high-stress joint is worse than the original crack.
- Undercut deeper than the spec allows, flag it for a pro. Undercut at a suspension hanger or kingpin is a rejection item under most trailer and welding codes.
Document everything with photos, noting mileage and date on each set, so you can compare next time.
Frequently Asked Questions
What are the most common signs of a failing trailer weld?
Look for visible cracks running along or beside the weld bead, rust bleeding from the joint, undercut edges, porosity (small holes), slag inclusion, and any weld that looks uneven or lumpy. A weld that has lost its profile or shows a dark heat-affected zone wider than expected can also signal trouble. If you see cracking near a load-bearing joint, stop towing and have it checked before your next trip.
What tools do I need to inspect trailer welds as a beginner?
Start with a bright flashlight, a magnifying glass or jeweler's loupe, a wire brush, and a weld gauge for measuring weld size and profile. A small mirror on an extendable handle helps you see the backside of joints. For deeper checks, a dye penetrant kit or magnetic particle testing kit can reveal surface cracks that are hard to see. You do not need ultrasonic or radiographic testing unless a professional recommends it.
How can I tell if a weld has proper penetration?
Proper penetration shows a smooth tie-in where the weld meets the base metal on both sides, with no visible gap, undercut, or cold lap. The weld should look like it has melted into the parent metal, not sat on top of it. A weld with poor penetration often has a high crown, visible edges, or a line where the weld metal did not fuse. If you are unsure, a professional can confirm with ultrasonic testing.
How often should I inspect my trailer welds?
Inspect before every long trip and at least once a month during regular use. If you haul heavy loads or drive on rough roads often, check weekly. After any impact, overload, or unusual noise, do a full inspection right away. Trailers used seasonally should be checked before the season starts and again mid-season. Catching a small crack early is far cheaper than repairing a cracked frame on the road.